2018 Google cloud 訓練營 筆記
Table of Contents
##
2018 Google cloud 訓練營 筆記
Become a Google Cloud Platform expert with hands-on training. GCP Essentials
#
Gcloud cli
##
PROJECT_ID:
gcloud auth list

gcloud config list project
##
BASIC
gcloud -h

gcloud config --help || gcloud help config

gcloud config list --all
#
Managing Cloud Storage data
Try creating a Cloud Storage bucket. Bucket names must be unique, so replace unique-name with something else, or append the name to make it unique.
gsutil mb gs://<unique-name>
Upload file to bucket
gsutil cp <file> gs://<unique-name>
#
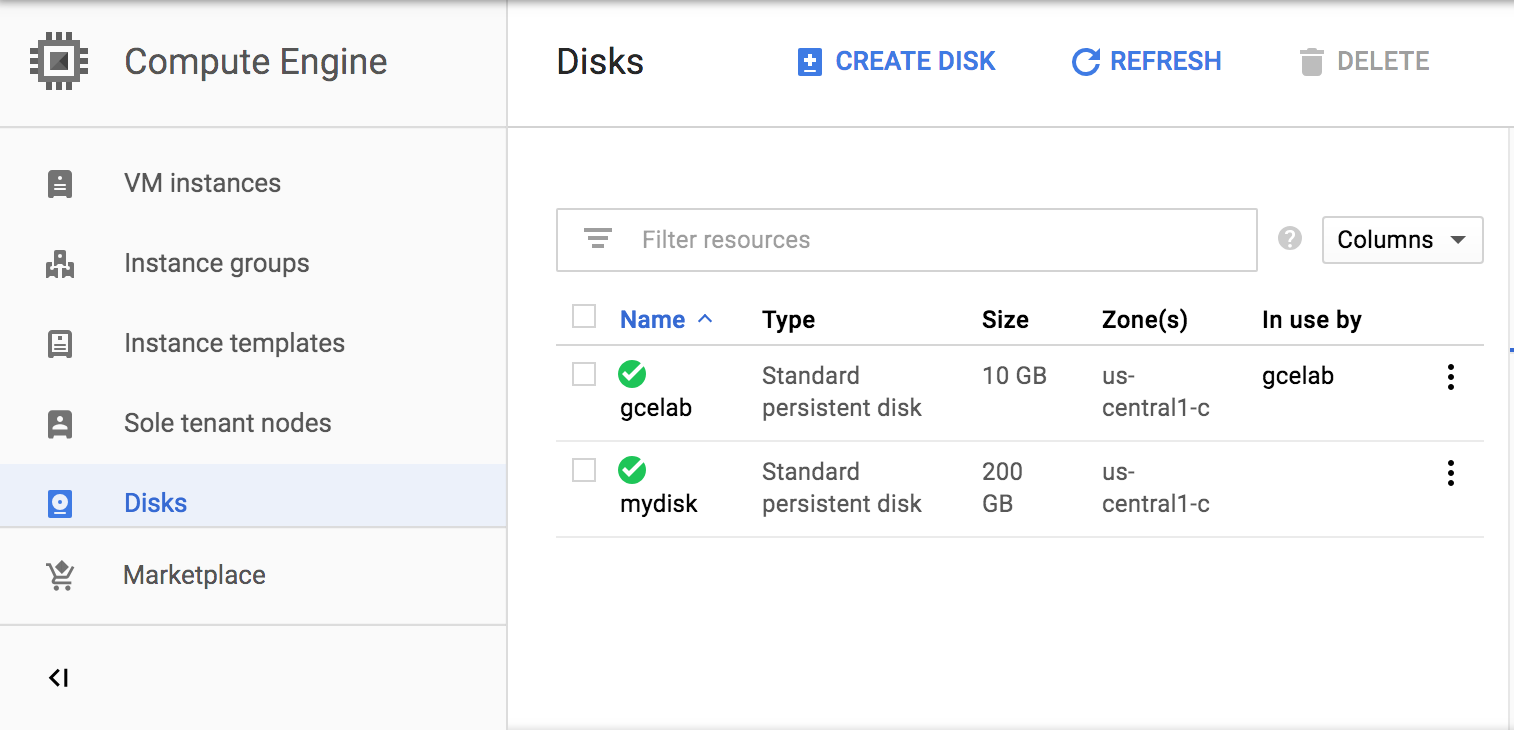
Create a new persistent disk
Because we want to attach this disk to the virtual machine instance we created in the previous step, the zone must be the same.
gcloud compute disks create <mydisk name> --size=200GB \ --zone us-central1-c
##
Attaching a disk
Attaching the persistent disk
You can attach a disk to a running virtual machine. Let’s attach the new disk (mydisk) to the virtual machine instance you just created (gcelab).
gcloud compute instances attach-disk
##
Finding the persistent disk in the virtual machine
The persistent disk is now available as a block device in the virtual machine instance. Let’s take a look.
go to this instance
ls -l /dev/disk/by-id/
You found the file, the default name is:
scsi-0Google_PersistentDisk_persistent-disk-1.
If you want a different device name, when you attach the disk, you would specify the device-name parameter. For example, to specify a device name, when you attach the disk you would use the command:
gcloud compute instances attach-disk gcelab --disk mydisk --device-name <YOUR_DEVICE_NAME> --zone us-central1-c
##
Formatting and mounting the persistent disk
Once you find the block device, you can partition the disk, format it, and then mount it using the following Linux utilities:
- mkfs: creates a filesystem
- mount: attaches to a filesystem
Make a mount point:
sudo mkdir /mnt/mydisk
Next, format the disk with a single ext4 filesystem using the mkfs tool. This command deletes all data from the specified disk:
sudo mkfs.ext4 -F -E lazy_itable_init=0,lazy_journal_init=0,discard /dev/disk/by-id/scsi-0Google_PersistentDisk_persistent-disk-1
Last lines of the output.
Allocating group tables: done
Writing inode tables: done
Creating journal (262144 blocks): done
Writing superblocks and filesystem accounting information: done
Now use the mount tool to mount the disk to the instance with the discard option enabled:
sudo mount -o discard,defaults /dev/disk/by-id/scsi-0Google_PersistentDisk_persistent-disk-1 /mnt/mydisk
Q: Can you prevent the destruction of an attached persistent disk when the instance is deleted?
A: Yes, deselect the option Delete boot disk when instance is deleted when creating an instance
A:Yes, use the –keep-disks option with the gcloud compute instances delete command
Q: For migrating data from a persistent disk to another region, reorder the following steps in which they should be performed:
- Unmount file system(s)
- Create snapshot
- Create disk
- Create instance
- Attach disk
#
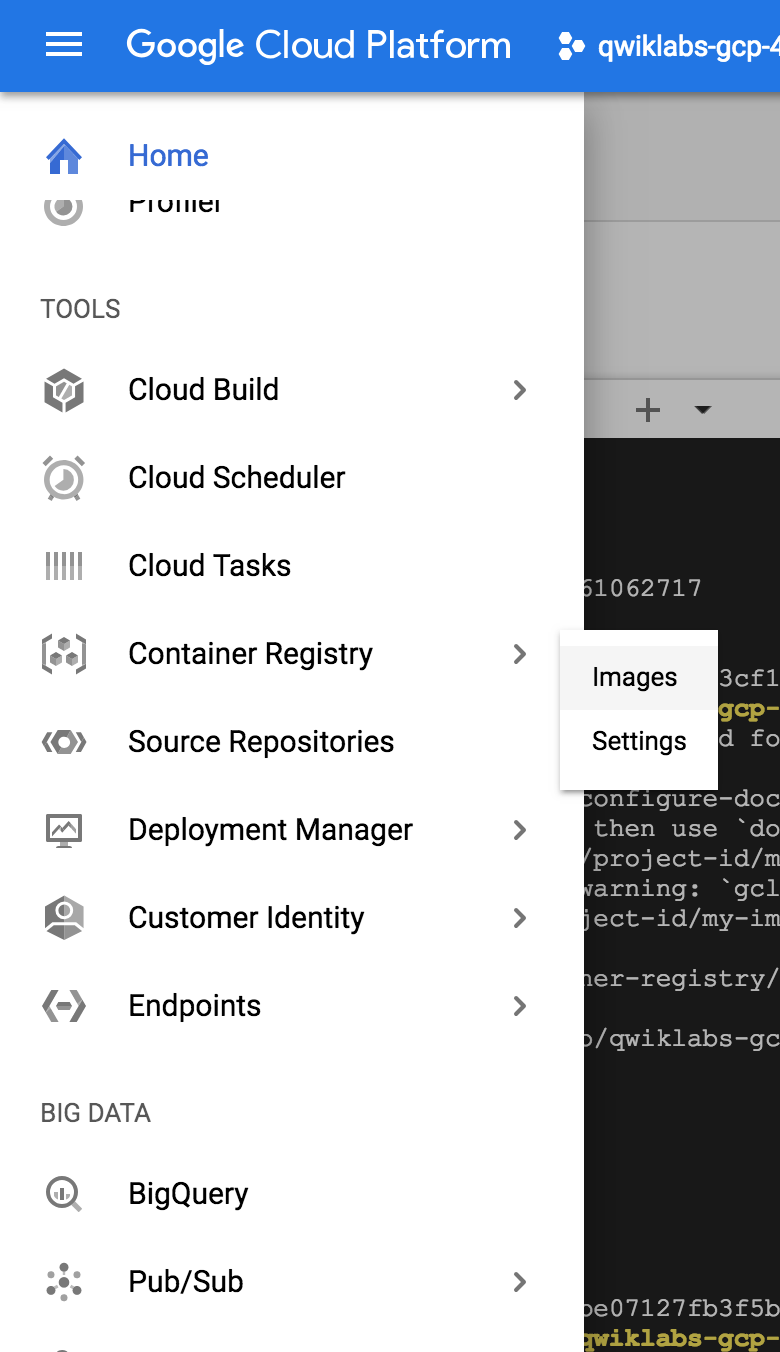
Hello Node Kubernetes
push docker image to instance
gcloud docker -- push gcr.io/<PROJECT_ID>/<hello-node>:<v1>
##
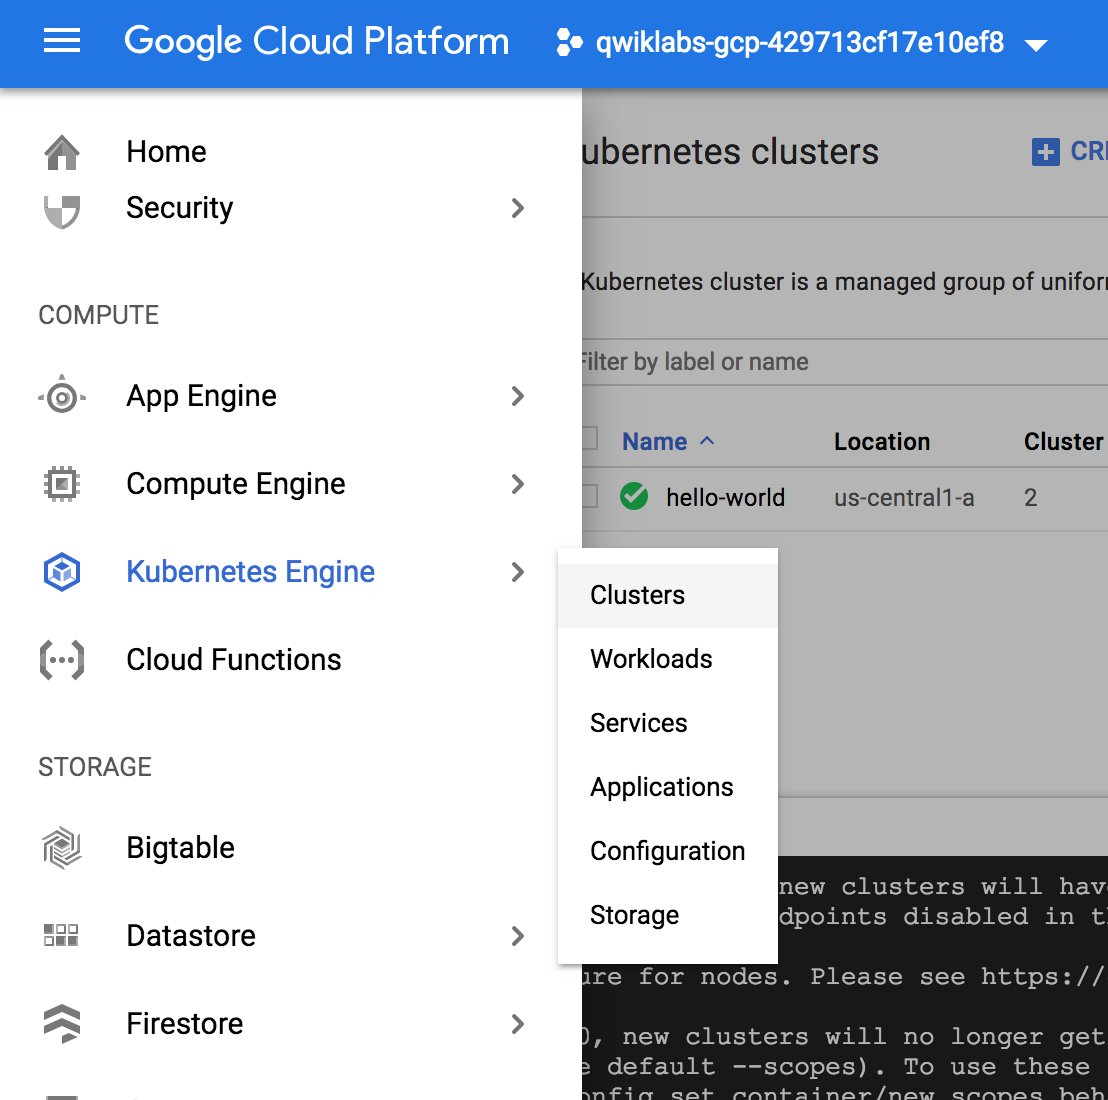
Create your cluster
gcloud config set project <PROJECT_ID>
Create a cluster with two n1-standard-1 nodes (this will take a few minutes to complete):
gcloud container clusters create <cluster name> \
                --num-nodes 2 \
                --machine-type n1-standard-1 \
                --zone us-central1-a
Note: You can also create this cluster through the Console, image shown above: Kubernetes Engine > Kubernetes clusters > Create cluster.
It is recommended to create the cluster in the same zone as the storage bucket used by the container registry (see previous step).
##
Create your pod
A Kubernetes pod is a group of containers tied together for administration and networking purposes. It can contain single or multiple containers. Here you’ll use one container built with your Node.js image stored in your private container registry. It will serve content on port 8080.
Create a pod with the kubectl run command (replace PROJECT_ID with your GCP Project ID, found in the console and in the Connection Details section of the lab):
kubectl run <hello-node> \
    --image=gcr.io/<PROJECT_ID>/<hello-node>:v1 \
    --port=8080
hello-node is container image name
To view the deployment, run:
kubectl get deployments
To view the pod created by the deployment, run:
kubectl get pods
kubectl cluster-info
And for troubleshooting :
kubectl get events

kubectl logs <pod-name>
##
Allow external traffic
By default, the pod is only accessible by its internal IP within the cluster. In order to make the hello-node container accessible from outside the Kubernetes virtual network, you have to expose the pod as a Kubernetes service.(預設只有內部 IP 可以讀取)
From Cloud Shell you can expose the pod to the public internet with the kubectl expose command combined with the –type=“LoadBalancer” flag. This flag is required for the creation of an externally accessible IP:
kubectl expose deployment <container image name> --type="LoadBalancer"
To find the publicly-accessible IP address of the service, request kubectl to list all the cluster services:
kubectl get services
This is the output you should see:
NAME         CLUSTER-IP     EXTERNAL-IP      PORT(S)    AGE
hello-node   10.3.250.149   104.154.90.147   8080/TCP   1m
kubernetes   10.3.240.1     <none>           443/TCP    5m
open 104.154.90.147:8080
##
Scale up your service
One of the powerful features offered by Kubernetes is how easy it is to scale your application. Suppose you suddenly need more capacity for your application. You can tell the replication controller to manage a new number of replicas for your pod:
kubectl scale deployment <hello-node> --replicas=4
You can request a description of the updated deployment:
kubectl get deployment
You can also list the all pods:
kubectl get pods
##
Roll out an upgrade to your service
At some point the application that you’ve deployed to production will require bug fixes or additional features. Kubernetes helps you deploy a new version to production without impacting your users.
Modify files & rebuild & push
docker build -t gcr.io/<PROJECT_ID>/<hello-node>:v2 .
gcloud docker -- push gcr.io/<PROJECT_ID>/<hello-node>:v2
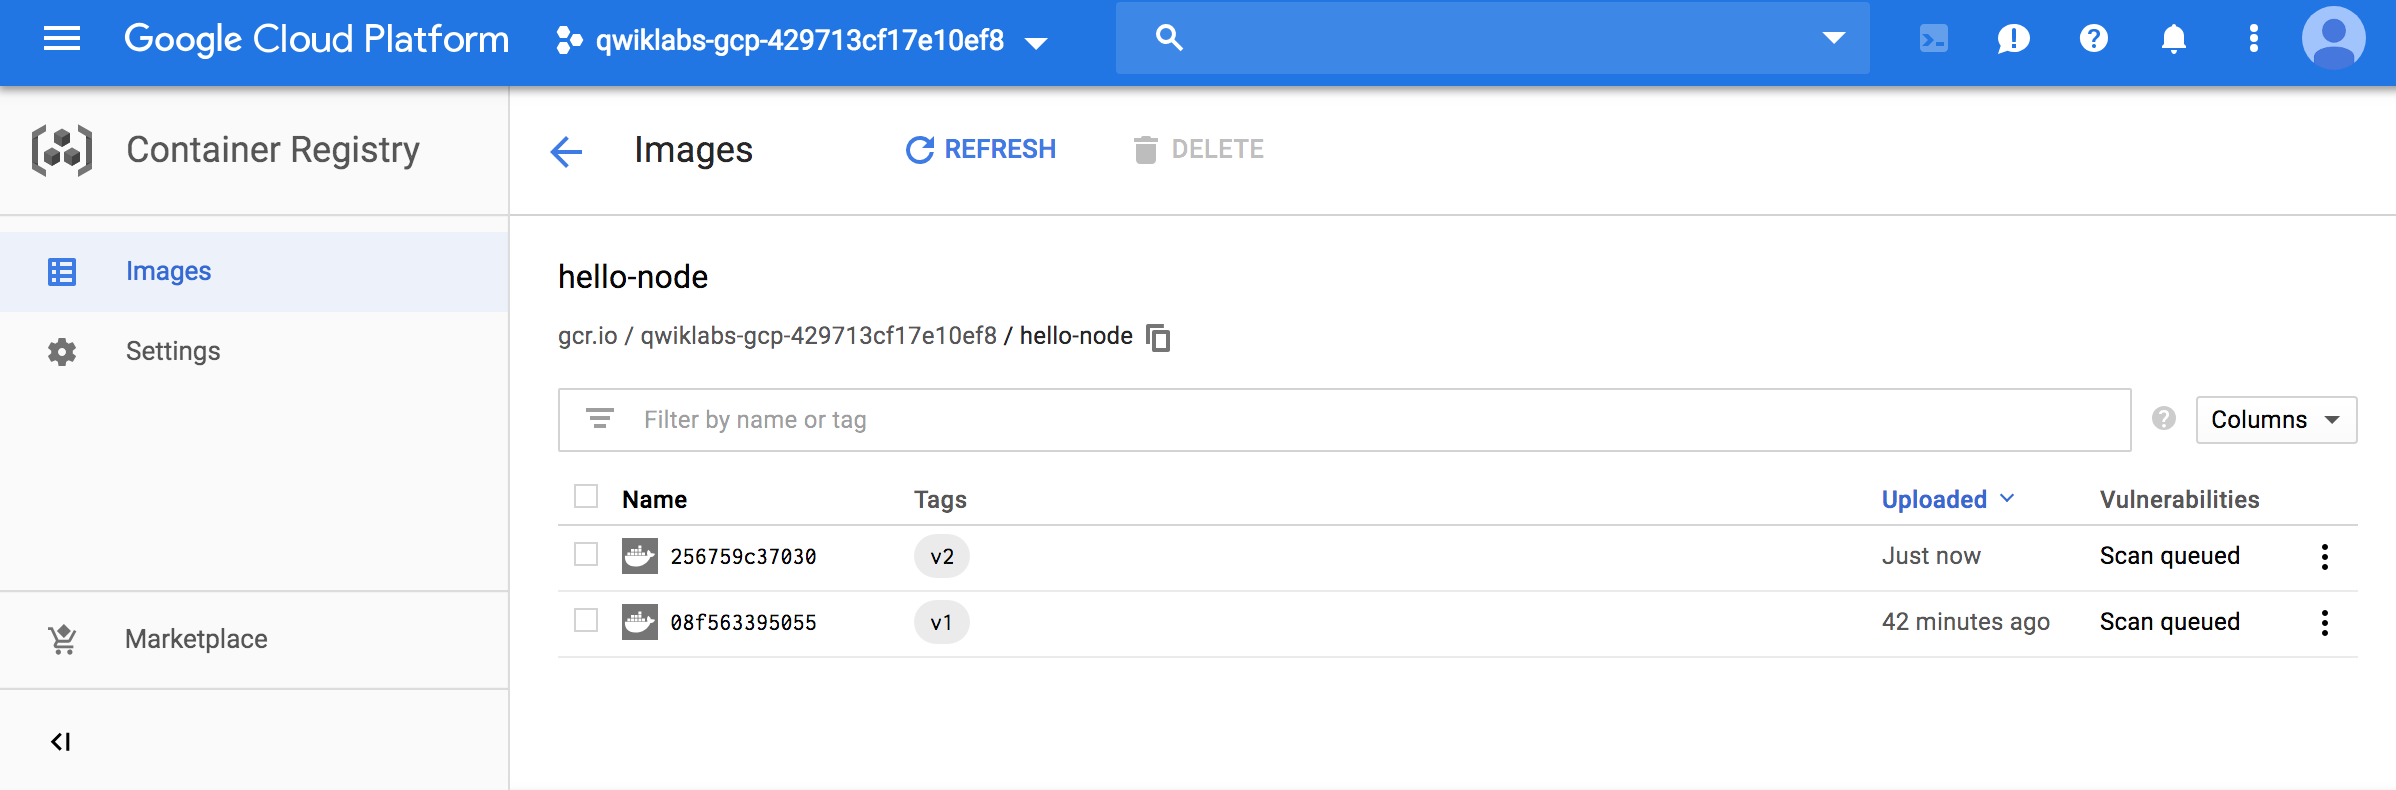
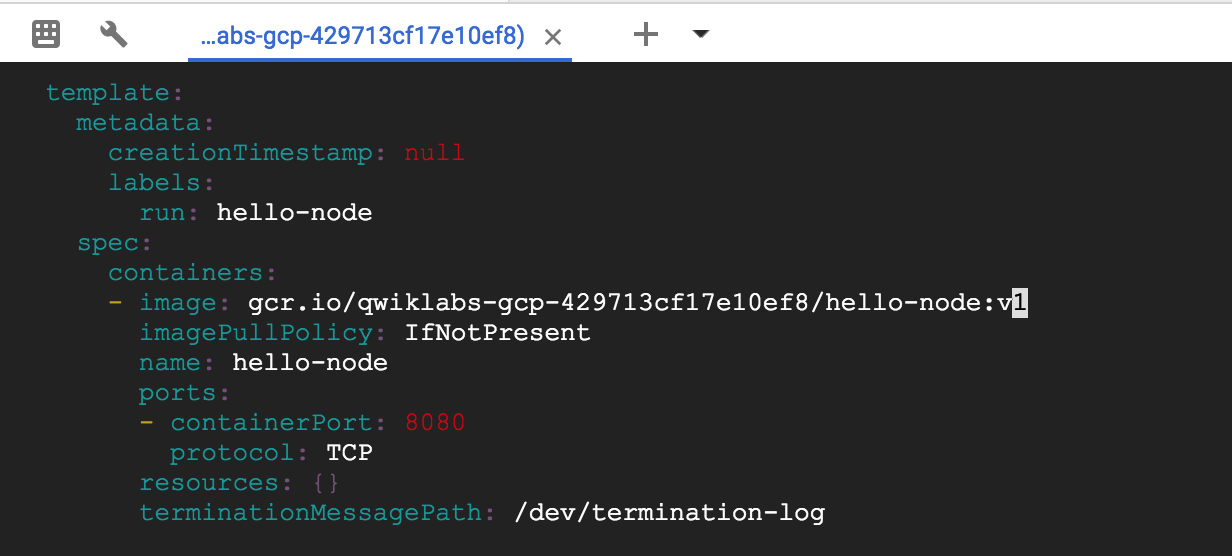
New version image
To do this, use the kubectl edit command. It opens a text editor displaying the full deployment yaml configuration. It isn’t necessary to understand the full yaml config right now, just understand that by updating the spec.template.spec.containers.image field in the config you are telling the deployment to update the pods with the new image.
kubectl edit deployment <hello-node>
Modify image & save
Run the following to update the deployment with the new image. New pods will be created with the new image and the old pods will be deleted.
kubectl get deployments
While this is happening, the users of your services shouldn’t see any interruption. After a little while they’ll start accessing the new version of your application. You can find more details on rolling updates in this documentation.
Hopefully with these deployment, scaling, and updated features, once you’ve set up your Kubernetes Engine cluster, you’ll agree that Kubernetes will help you focus on the application rather than the infrastructure.
#
Set Up Network and HTTP Load Balancers
In this hands-on lab, you’ll learn the differences between a network load balancer and a HTTP load balancer, and how to set them up for your applications running on Google Compute Engine virtual machines.
There are several ways you can load balance in Google Cloud Platform. This lab takes you through the setup of the following load balancers.:
##
Set the default region and zone for all resources
In Cloud Shell, set the default zone:
gcloud config set compute/zone us-central1-a
Set the default region:
gcloud config set compute/region us-central1
##
Create multiple web server instances
To simulate serving from a cluster of machines, create a simple cluster of Nginx web servers to serve static content using Instance Templates and Managed Instance Groups. Instance Templates define the look of every virtual machine in the cluster (disk, CPUs, memory, etc). Managed Instance Groups instantiate a number of virtual machine instances using the Instance Template.
To create the Nginx web server clusters, create the following:
- A startup script to be used by every virtual machine instance to setup Nginx server upon startup
- An instance template to use the startup script
- A target pool
- A managed instance group using the instance template
Still in Cloud Shell, create a startup script to be used by every virtual machine instance. This script sets up the Nginx server upon startup:
cat << EOF > startup.sh
#! /bin/bash
apt-get update
apt-get install -y nginx
service nginx start
sed -i -- 's/nginx/Google Cloud Platform - '"\$HOSTNAME"'/' /var/www/html/index.nginx-debian.html
EOF
Create an instance template, which uses the startup script:
gcloud compute instance-templates create nginx-template \
         --metadata-from-file startup-script=startup.sh
Create a target pool. A target pool allows a single access point to all the instances in a group and is necessary for load balancing in the future steps.
gcloud compute target-pools create nginx-pool
Create a managed instance group using the instance template:
gcloud compute instance-groups managed create nginx-group \
         --base-instance-name nginx \
         --size 2 \
         --template nginx-template \
         --target-pool nginx-pool \
List instance
gcloud compute instances list
Now configure a firewall so that you can connect to the machines on port 80 via the EXTERNAL_IP addresses:
gcloud compute firewall-rules create www-firewall --allow tcp:80
##
Create a Network Load Balancer
Network load balancing allows you to balance the load of your systems based on incoming IP protocol data, such as address, port, and protocol type. You also get some options that are not available, with HTTP(S) load balancing. For example, you can load balance additional TCP/UDP-based protocols such as SMTP traffic. And if your application is interested in TCP-connection-related characteristics, network load balancing allows your app to inspect the packets, where HTTP(S) load balancing does not.
For more information, see Setting Up Network Load Balancing.
Create an L3 network load balancer targeting your instance group:
gcloud compute forwarding-rules create nginx-lb \
         --region us-central1 \
         --ports=80 \
         --target-pool nginx-pool
List all Google Compute Engine forwarding rules in your project.
gcloud compute forwarding-rules list
##
Create a HTTP(s) Load Balancer
HTTP(S) load balancing provides global load balancing for HTTP(S) requests destined for your instances. You can configure URL rules that route some URLs to one set of instances and route other URLs to other instances. Requests are always routed to the instance group that is closest to the user, provided that group has enough capacity and is appropriate for the request. If the closest group does not have enough capacity, the request is sent to the closest group that does have capacity.
Learn more about the HTTP(s) Load Balancer in the documentation.
First, create a health check. Health checks verify that the instance is responding to HTTP or HTTPS traffic:
gcloud compute http-health-checks create http-basic-check
Define an HTTP service and map a port name to the relevant port for the instance group. Now the load balancing service can forward traffic to the named port:
gcloud compute instance-groups managed \
       set-named-ports nginx-group \
       --named-ports http:80
Create a backend service:
gcloud compute backend-services create nginx-backend \
      --protocol HTTP --http-health-checks http-basic-check --global
Add the instance group into the backend service:
gcloud compute backend-services add-backend nginx-backend \
    --instance-group nginx-group \
    --instance-group-zone us-central1-a \
    --global
Create a default URL map that directs all incoming requests to all your instances:
gcloud compute url-maps create web-map \
    --default-service nginx-backend
To direct traffic to different instances based on the URL being requested, see content-based routing.
Create a target HTTP proxy to route requests to your URL map:
gcloud compute target-http-proxies create http-lb-proxy \
    --url-map web-map
Create a global forwarding rule to handle and route incoming requests. A forwarding rule sends traffic to a specific target HTTP or HTTPS proxy depending on the IP address, IP protocol, and port specified. The global forwarding rule does not support multiple ports.
gcloud compute forwarding-rules create http-content-rule \
        --global \
        --target-http-proxy http-lb-proxy \
        --ports 80
After creating the global forwarding rule, it can take several minutes for your configuration to propagate.
gcloud compute forwarding-rules list